You don’t need a green thumb to transform your water-guzzling landscape.
Keeping your lawn resilient in times of drought doesn’t have to be difficult or costly. It’s as simple as parting ways with growing water-intensive landscape plants. For me, that was St. Augustine grass.
I recently went on a mission to reduce my own water use and remove a portion of grass to install a drought-tolerant garden bed. It’s important to note that 1) I was not born with a green thumb and 2) this was my first attempt in removing grass and making a drought tolerant bed.
With time I plan to expand this garden bed, but I wanted to test the procedure and learn what might be involved. Here’s what I learned along the way.
To remove established grass there are four recommended options:
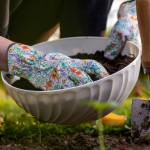
 Manual removal: This method involves using a garden spade, a square-point shovel with a flat blade that allows you to cut a straight edge right through turf and allowing you to remove it without damaging surrounding grass or plants.
- Chemical removal: A foliar application of Glyphosate kills turf by disrupting its metabolic processing of essential enzymes. However, it can take two weeks or more for the grass to die and there is a risk to nearby plants if it’s windy. Also, it shouldn’t be touched or watered for the first seven days after the chemical is applied.
- Machine removal: Renting a sod cutter to precisely cut and lift the sod is a relatively easy process without any chemicals. This method also allows for a flare surface and takes away any extra digging or movement of the soil due to the accuracy of the machine. This may be good if you’re thinking about creating a walkway or extra-large garden bed.
- Solarization: This method uses clear plastic to cover growing grass for at least six weeks in summer sun, causing the grass to overheat.
Identify your needs when choosing which method to use. Personally, I was creating a mini garden bed to test my own capability, so I opted for a garden spade. This was appropriate for the site since mine was a small area, and because there was a slight chance of rain during the period when I was working. In addition, the grass was St. Augustine, which is one of the easiest to remove manually — the grass and roots can be scooped up fairly cleanly.
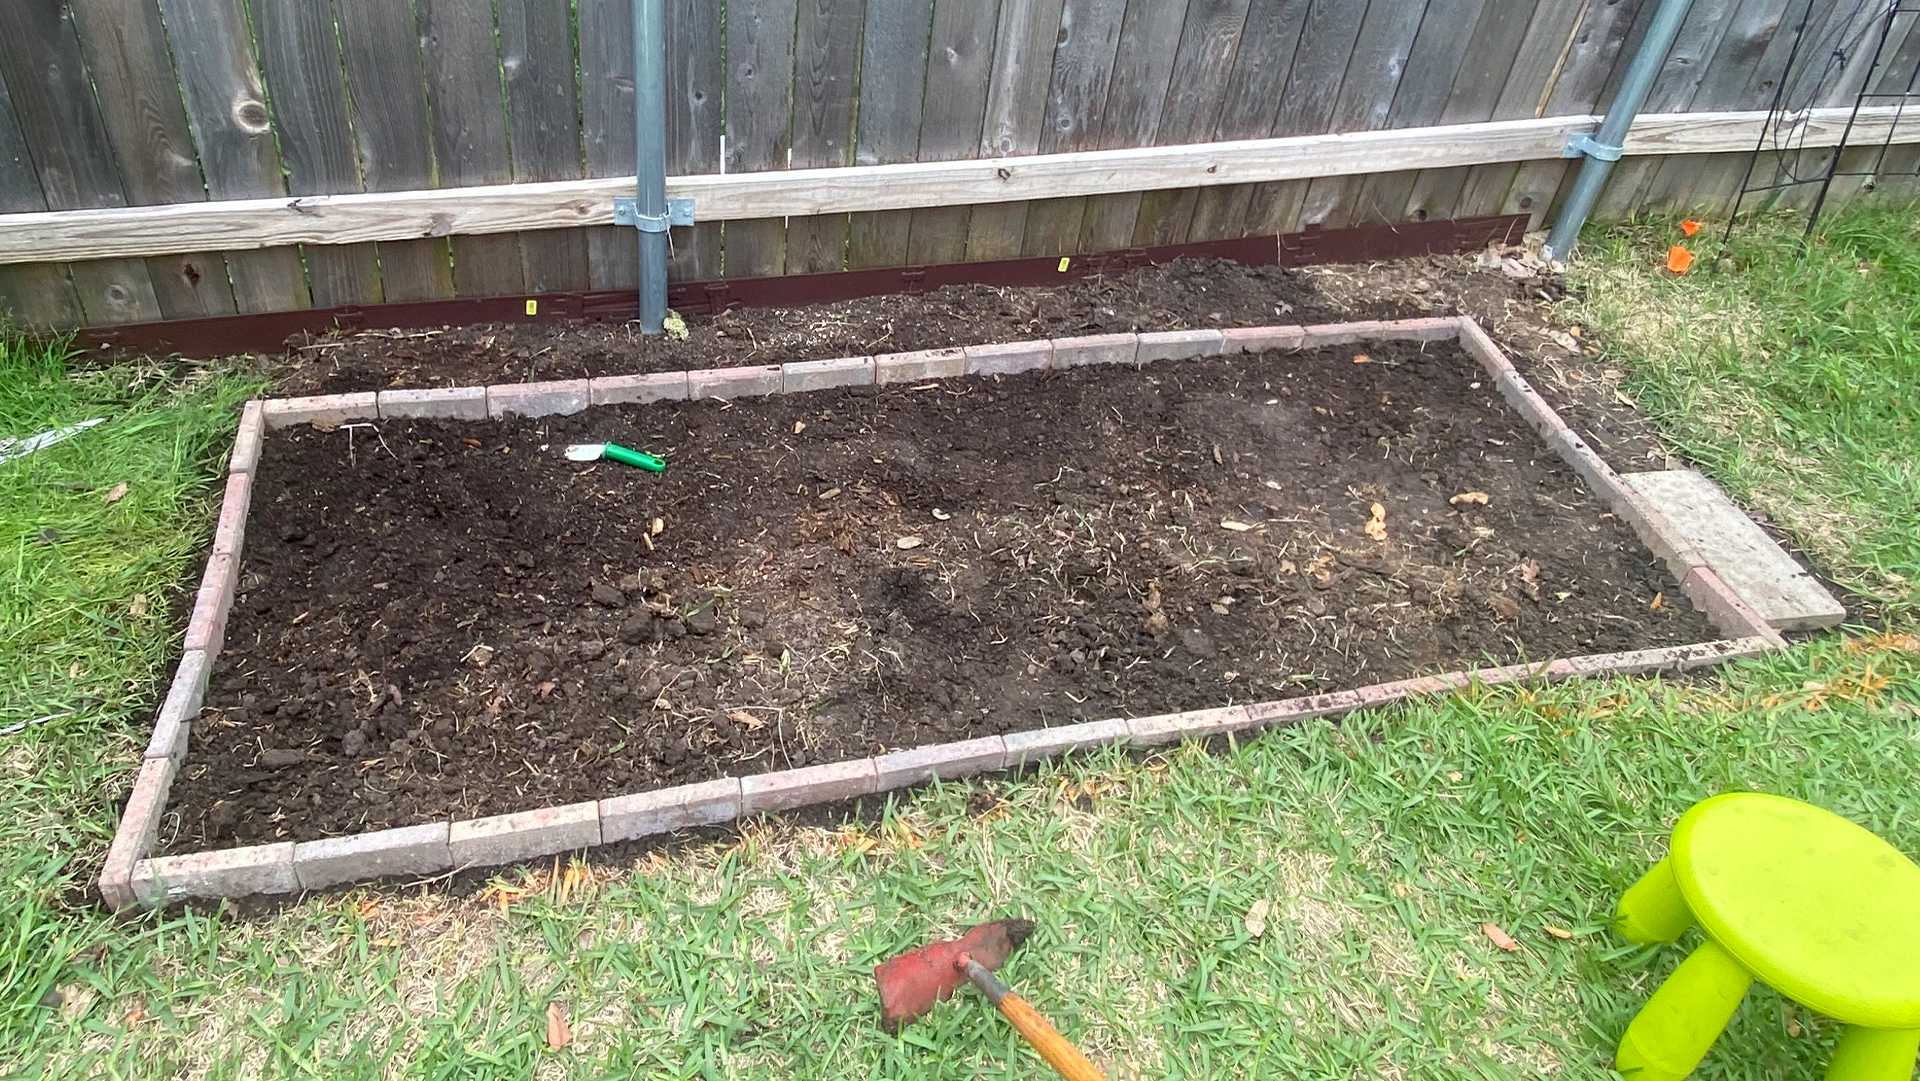
After removing the grass, I needed to make sure my garden bed was level to prevent soil erosion from heavy winds and rain. I used bricks for the border, measuring ahead of time to determine how many bricks I needed.
 And then came the fun part — I got to pick plants! Because this was a mini garden bed I didn’t need to purchase a whole lot. When you’re purchasing plants it’s important to consider three factors:
- How big the plant will grow.
- How much sunlight it needs.
- How much water it needs. It’s sensible to group plants with matching water needs.
Note where your landscape bed is and go from there. In my case, the fence directly behind the garden bed would provide a half-day of shade during the growing season. So, I chose these plants:
- 2 Berkeley sedge
- 2 autumn sage
- 1 meadow sage
- 1 pink skullcap
- 1 Texas betony
- 1 verbena ‘homestead purple’
- 2 chocolate daisy
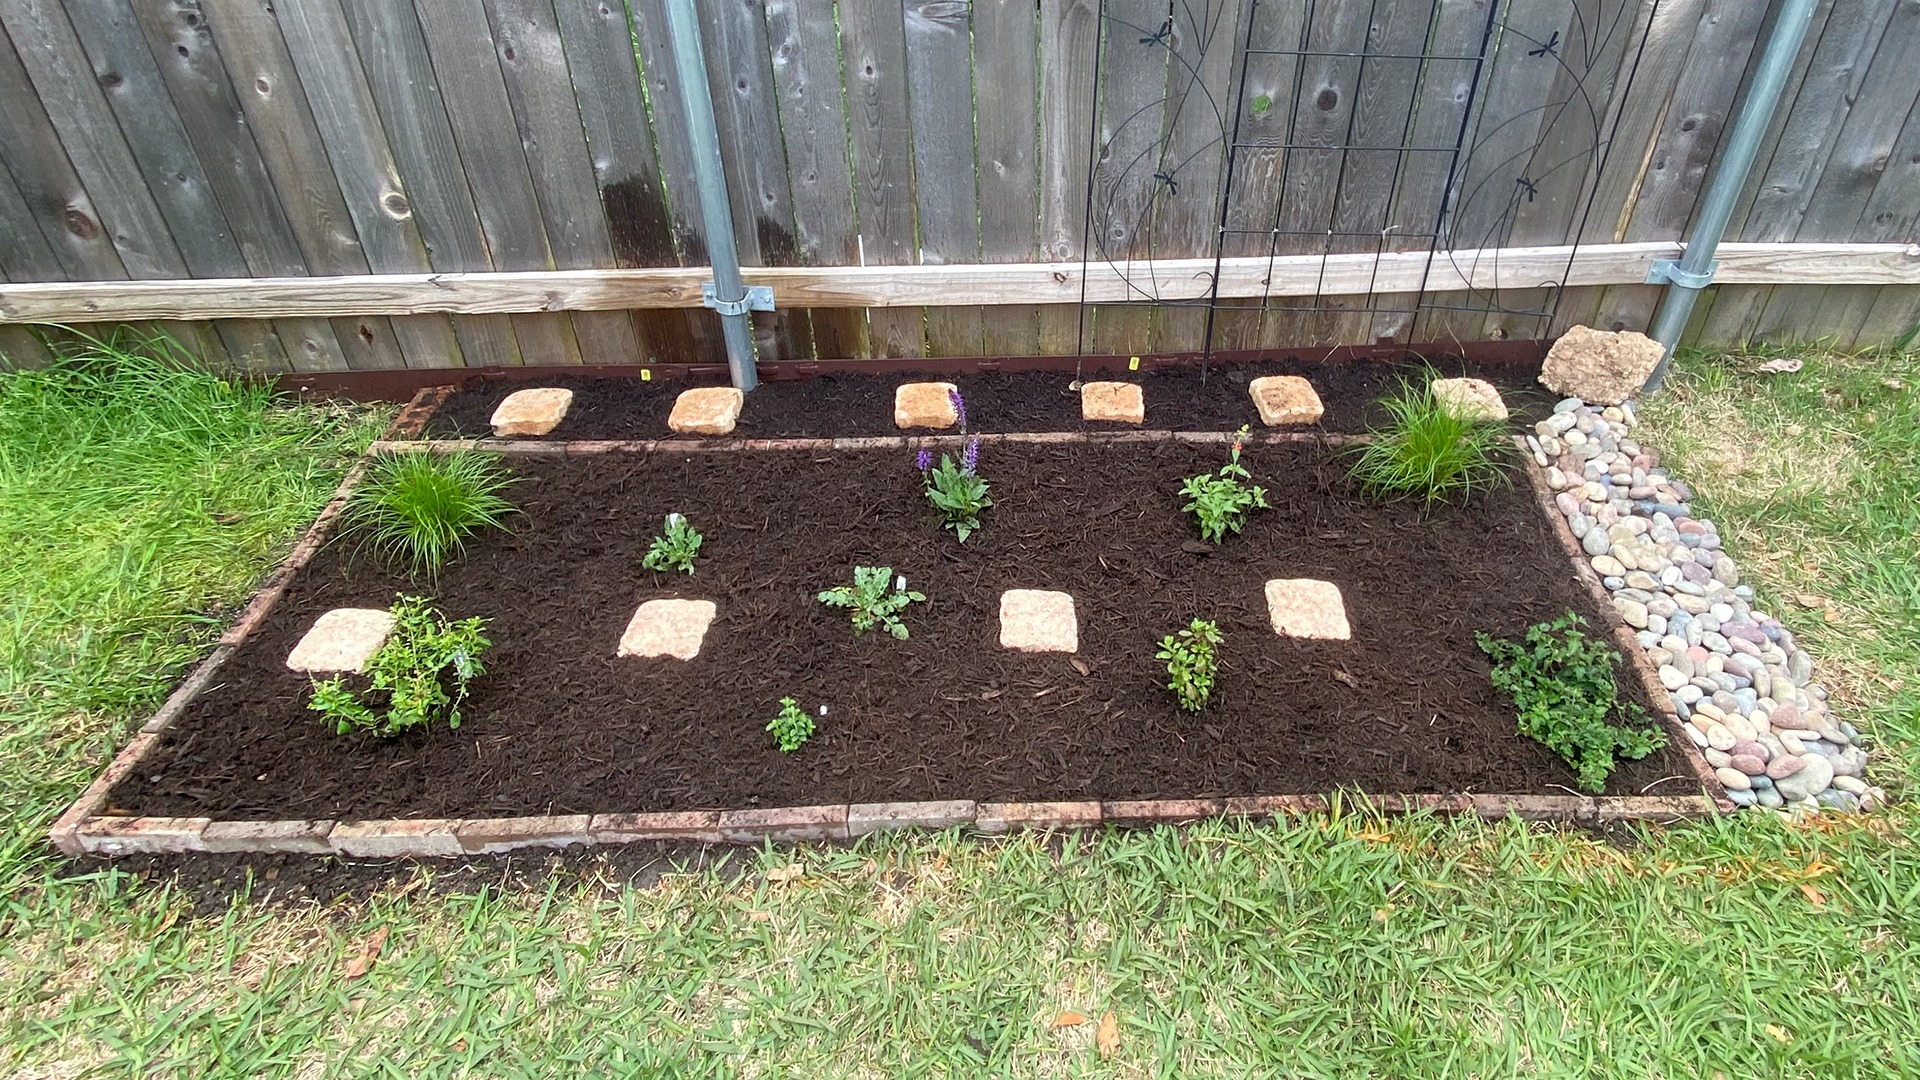 After I planted them based on their heights, I applied some mulch and hand-watered them in.
Saying a partial goodbye to my St. Augustine grass was a good start and I’m excited to continue my gardening journey!
Are you ready to break-up with your St. Augustine grass? If so, apply today for our Watersaver Landscape Coupons and build your dream drought tolerant garden bed!
Sarah Thissen is an intern with SAWS Conservation.